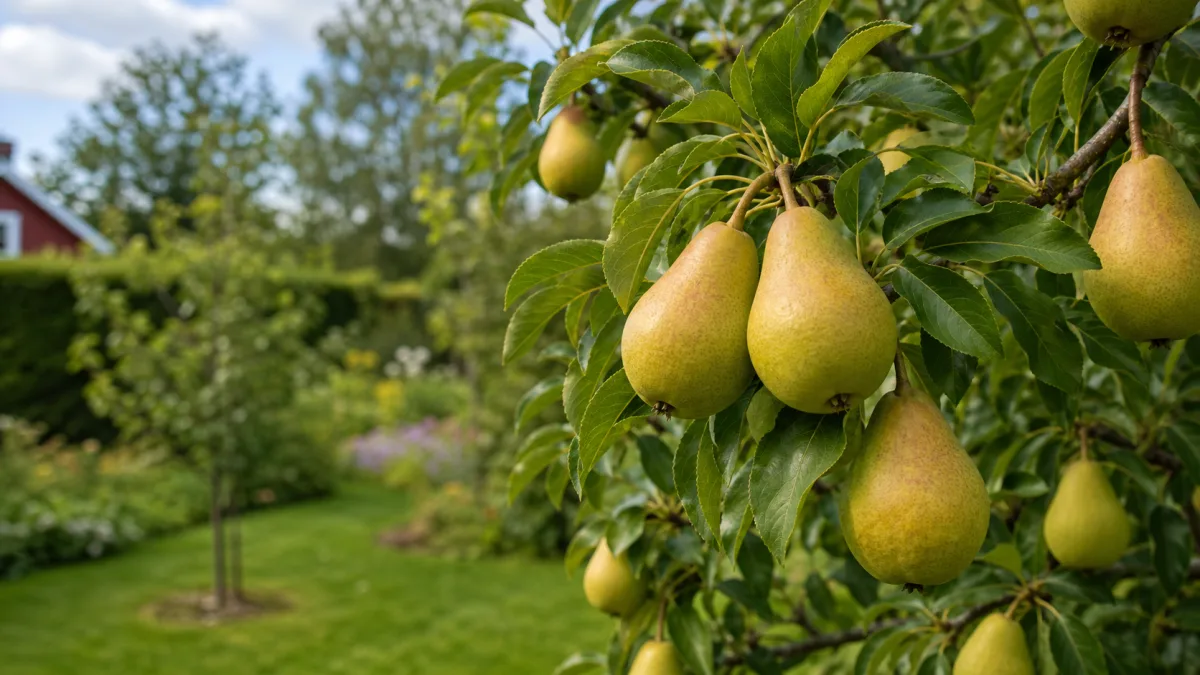
Pear trees need a cultivar and rootstock matched to the climate, soil and available mature space. Confirm overlapping bloom with a compatible pear; self-fertile does not always mean best cropping alone. Account for scab, pruning, picking stage and ripening after harvest.
Plan pollination, shelter and after-ripening together
A pear tree is usually grafted, so the rootstock and training form determine how much of the available space it will occupy. Match those details to the site before choosing fruit solely by name or flavour description.
Spring blossom is vulnerable to late frost, and most pears need compatible pollen from another cultivar flowering at the same time. A sunny, sheltered, well-drained position helps, but it does not remove the need to check pollination and local cold exposure.
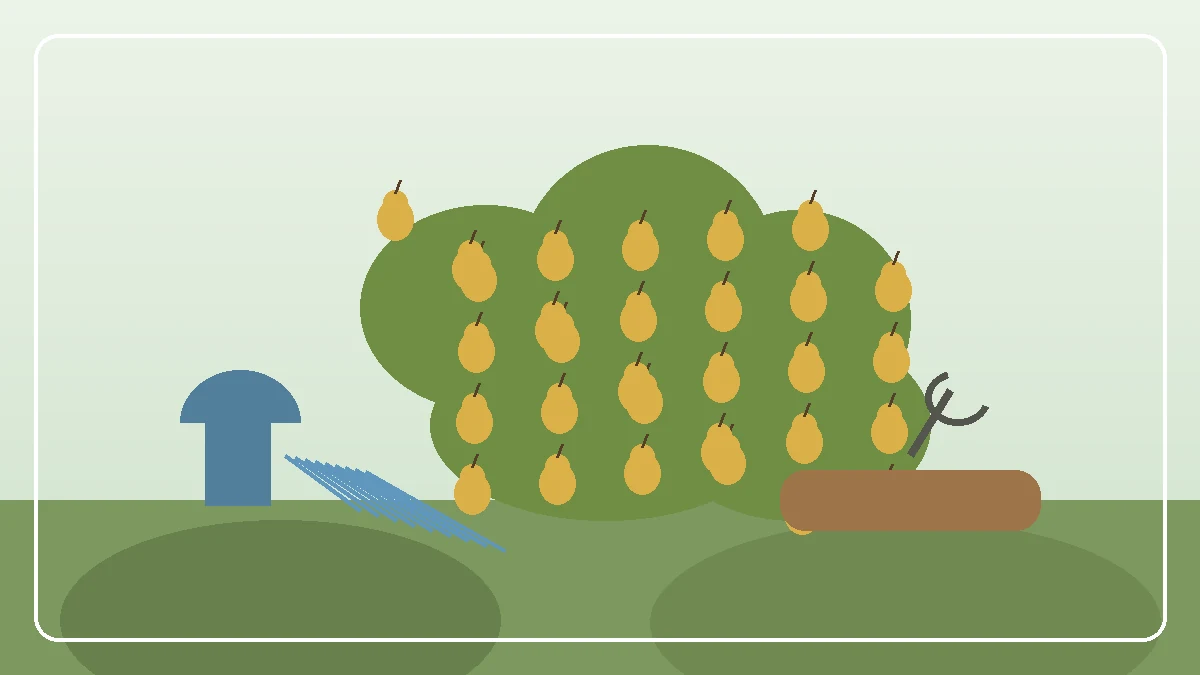
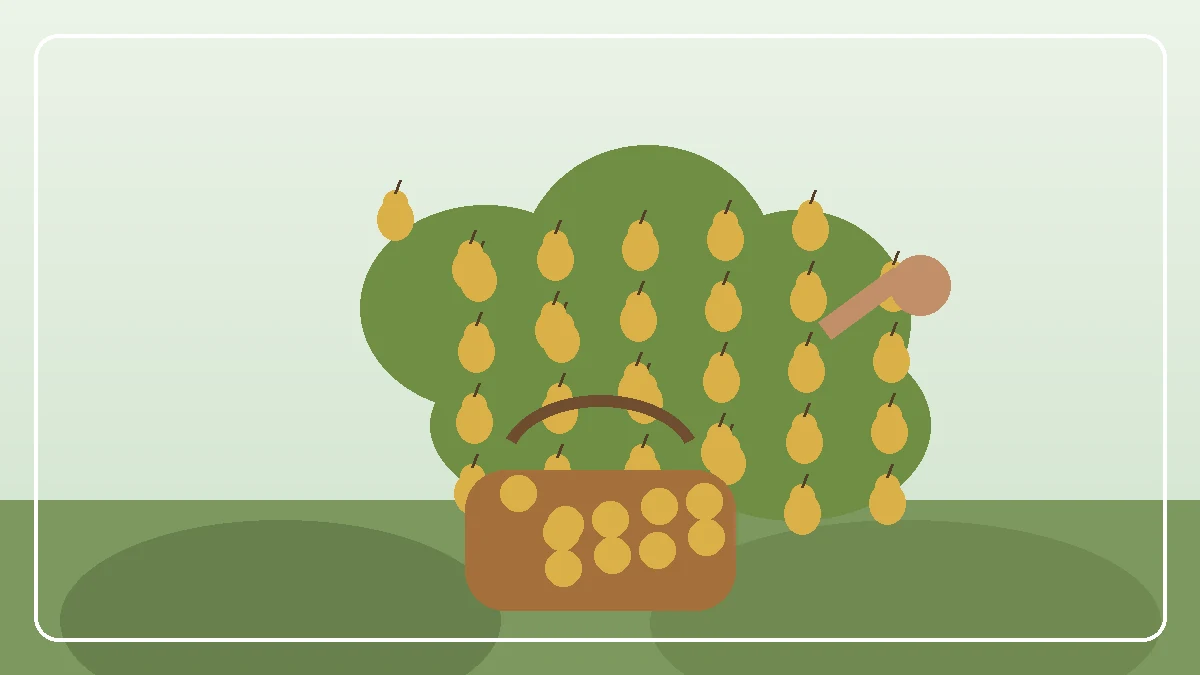
Harvest also needs its own plan. Many pears are picked while still firm and complete their ripening after harvest, so the tree must be accessible for several picking rounds and sound fruit needs a suitable place to finish or store.
- rootstock and training form for the mature space
- compatible overlapping blossom and late-frost exposure
- pruning access, firm picking, after-ripening and scab hygiene
Pair the cultivar with its site and pollinator
Settle these three relationships before ordering a tree:
- Pear trees need a cultivar and rootstock matched to the climate, soil and available mature space.
- Confirm overlapping bloom with a compatible pear; self-fertile does not always mean best cropping alone.
- Account for scab, pruning, picking stage and ripening after harvest.
Reserve space for the mature tree
Measure the position against the expected height and spread of the rootstock and trained form. Keep the crown away from a cramped corner where pruning, airflow and harvest would all depend on a ladder or access through another plant.
Check drainage and water access at ground level, then look at shelter and cold-air movement around blossom height. A warm wall can offer protection, but a low frost pocket can still damage spring flowers.
- confirm the cultivar, rootstock and compatible pollination partner
- choose full sun and shelter without accepting waterlogged soil or a frost hollow
- leave a clear route for watering, annual pruning and repeated picking
- plan where firm-picked fruit can ripen without damaged fruit being mixed in
Plant for a stable root zone and reachable crown
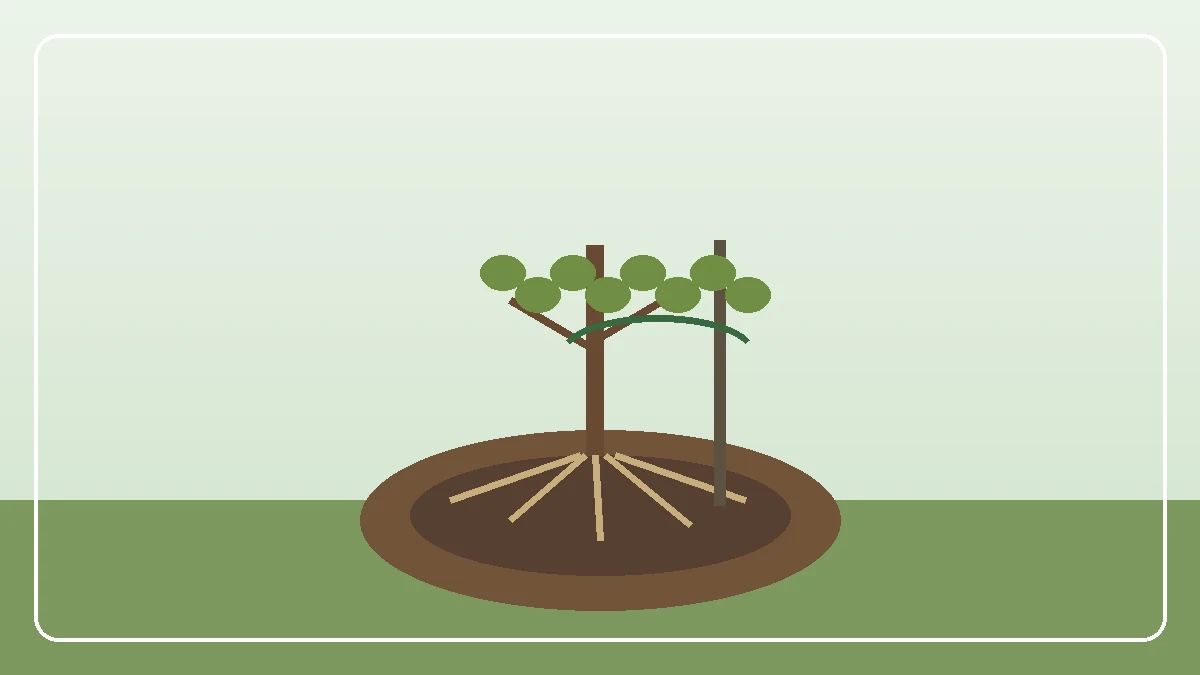
Plant while the soil is workable rather than frozen or waterlogged, keep the graft union above the final soil level and stake where support is needed. Water the root zone during establishment without allowing drainage problems to remain hidden.
Shape future access from the beginning. Moderate pruning can maintain a workable tree, but a rootstock that is too vigorous for the space cannot be corrected simply by repeated hard cutting.
Four stages to watch
- Establishment: secure the grafted tree, protect drainage and water the root zone.
- Blossom: check overlap with the pollination partner and watch late-frost risk.
- Fruit development: maintain access, thin where guidance calls for it and inspect for scab.
- Harvest: pick by cultivar cues while fruit is firm, then manage after-ripening and storage.
Keep pruning, hygiene and harvest connected
Inspect the root zone and new growth before changing the watering routine. Annual, moderate pruning keeps the crown accessible, while affected leaves, fruit and twigs should be removed when pear scab is present.
At harvest, separate sound fruit from damaged or diseased fruit immediately. Record which picking stage produced good after-ripening, because colour alone is not a reliable rule across all cultivars.
Pollination, graft depth and premature picking errors
These choices reduce pollination, access or fruit quality long before the problem is obvious.
- assuming a self-fertile label removes every benefit of compatible cross-pollination
- choosing a rootstock whose mature size depends on repeated severe pruning
- leaving scabbed leaves, fruit or affected twigs as local sources of infection
- waiting for all pears to soften on the tree before beginning the harvest
Use nearby guides for one decision at a time
An apple-tree guide may clarify rootstocks or pruning, while disease and planting guides answer narrower questions. Return each recommendation to the pear cultivar, pollination partner and sheltered site before applying it.
Keep the harvest guide separate from the planting decision: the best picking and after-ripening routine cannot compensate for an unsuitable rootstock or missing compatible blossom.
Make cultivar, rootstock and pollination one decision
A cultivar name does not reveal the tree's final vigour because the rootstock controls much of its size and support requirement. Ask for both names, then check whether the expected blossom overlaps with a compatible pear nearby.
Late frost, a shaded position or a waterlogged root zone can defeat an otherwise compatible pair. Record flowering and harvest dates in your own garden so later pruning and replacement choices use observations rather than catalogue timing alone.
Questions about blossom, picking and ripening
Does a pear tree need a pollination partner?
Plan for a compatible pear that flowers at the same time. A cultivar described as self-fertile may still crop better with suitable cross-pollination, so check the named cultivars rather than relying on the label alone.
How do I choose a site and rootstock for a pear tree?
Match the rootstock's eventual size to the available space and training form, then choose a sunny, sheltered site with well-drained soil. Consider late-frost exposure as well, because spring blossom is vulnerable even in an otherwise warm position.
When should pears be picked?
Harvest when the fruit is mature but still firm, following the cues for the cultivar rather than waiting for every pear to soften on the tree. Many pears complete their ripening after picking, so handle undamaged fruit carefully for storage.
How can pear scab pressure be reduced?
Remove affected leaves, fruit and pruned twigs, and keep the canopy open enough for access and drying. Hygiene and pruning reduce local sources of infection, but they do not guarantee that scab will be absent.
Separate scab symptoms from routine fruit marking
Scab can mark leaves, shoots and fruit, so inspect more than a single blemished pear. Remove fallen infected material, improve airflow without opening the crown excessively, and use the pattern across the tree when deciding whether disease management is needed.
A pear crop starts with the right partnership
Match pear cultivar, rootstock and pollination before planting, protect blossom from avoidable exposure, watch for scab across leaves and fruit, and pick each cultivar by maturity rather than softness alone.