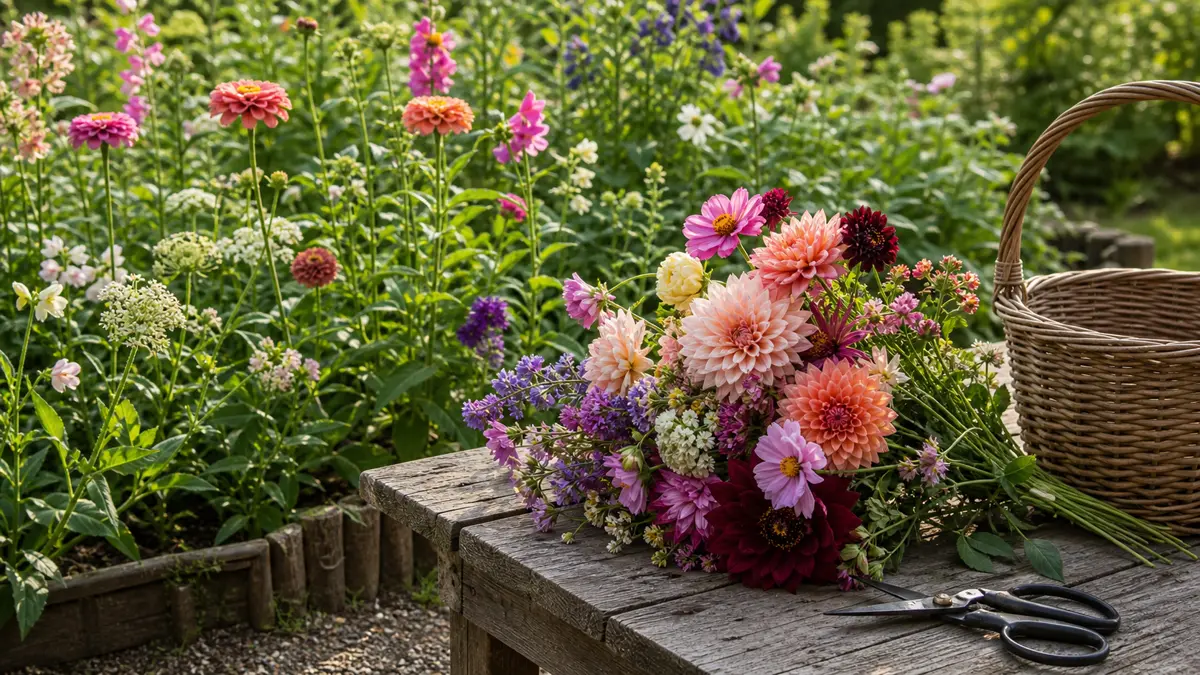
The most productive patch is not necessarily the one packed with the most plants. In a cutting bed, stems lose value when they cannot be reached, supported or carried quickly to water. Begin with the bucket: decide where it will stand, how a path reaches both sides of each row and where harvested stems will be conditioned. Only then allocate seed to the spaces left. That reversed plan turns a flower bed into a workable source of bouquets.
Design the cutting bed from the bucket back: draw the bucket route before the rows
A narrow bed that can be reached from both sides usually serves a cutter better than a deep island with no foothold. Mark permanent paths, the tap or water source and a shaded place for a clean harvest bucket. Leave enough turning room for the container you will actually carry, not an imaginary small basket.
A path earns its space by preventing root-zone compaction, keeping lower leaves visible and allowing damaged material to be removed before disease or pests spread unnoticed. If the site is small, shorten the row rather than sacrificing access along its length.
- Reach the middle without leaning on neighboring stems.
- Keep the route from bed to conditioning area short and level.
- Reserve anchor points for netting or stakes before roots fill the row.
Sort packets by treatment, not by flower color
Use the packet's sowing depth and indoor lead time for each species, then harden transplants before they move into the cutting bed. Some seed benefits from an indoor start, while other species resent root disturbance or perform well sown directly. A single sowing day is convenient for the gardener but may be wrong for half the packets.
Make three working groups: indoor sowing, direct sowing and instructions that require a special temperature or light treatment. Within each group, note mature spread and likely support needs from the named species or cultivar. Do not infer those traits from a bouquet photograph; the packet label and reliable species guidance should decide them.
Support the crop before it asks
Horizontal mesh or individual stakes can hold tall or heavy stems upright when the crop needs support. Install them early enough that foliage can grow around the structure. Check stakes, mesh and ties after wind and rain; a tight loop can cut a swelling stem, while poorly tensioned mesh may rub it repeatedly.
Spacing is a quality decision, not a contest to fit every seedling. Dense growth may leave side shoots less room to develop and can slow drying after rain. Excessively wide spacing wastes the prepared row and encourages weeds. Use the named cultivar's guidance, then record whether stems were straight, accessible and adequately ventilated in this bed.
Build one manageable sequence
Tie every action to plant development and local conditions rather than a universal month.
- Before sowing, clear perennial weeds, prepare a fine surface where direct seed will make contact and set the path edges.
- At emergence, label rows and thin only according to the packet or cultivar spacing, retaining a small reserve of transplants where appropriate.
- Before stems lean, install the planned support while shoots can still pass through it without damage.
- Once cutting begins, record harvest stage, stem quality and the interval before the next usable flush.
Protect the root zone that produces the next stem
Water annual flowers at the root zone when the bed needs it, and keep early weed growth from crowding young plants. Test moisture below the surface instead of responding only to a dry-looking crust. Deep, deliberate watering is easier to assess than a daily splash that wets leaves and never reaches the active roots.
Weed while intruders are small enough to remove without pulling up adjacent seedlings. Once the crop closes over the row, continue checking its base from the path. Cutting removes plant material repeatedly, but feeding should still follow soil information and species needs; more fertilizer does not automatically make stronger flower stems.
Match the cut to the species
Take a clean bucket of water into the bed, cut each species at its proper stage and place the stems in water promptly. A daisy-type flower that should be open and a spike best cut with lower florets showing cannot share one visual rule. Harvest guidance belongs beside each row label so the decision is available when the pruning shears are in hand.
Use clean, sharp blades and remove only the foliage that would sit below the waterline. Move the bucket out of direct heat while the stems hydrate. Clean containers between batches; good conditioning cannot repair a crushed stem, prolonged wilting or dirty water introduced at harvest.
Questions from the cutting row
Should every cut flower be started indoors?
No. Follow the species and cultivar instructions. Indoor sowing can extend the establishment period for some plants, while direct sowing avoids root disturbance for others. Grouping packets by treatment prevents one convenient method from being imposed on unlike seeds.
How wide should a cutting bed be?
There is no useful universal width. Make it narrow enough to reach the center from a path without stepping into the root zone. Test the reach while holding the bucket and tools, because harvesting posture matters more than a catalog dimension.
When is a flower ready to cut?
Read species-specific harvest guidance. Some flowers are gathered as color first shows, some after several florets open and others when fully open. Put the instruction on the row label rather than relying on one rule for the whole bed.
Why should stems be cut at different stages?
A flower head, spike and foliage stem do not all last best when harvested at the same stage. Trial a small batch, note how it opens in water and adjust the next cutting rather than assuming every stem follows one rule.