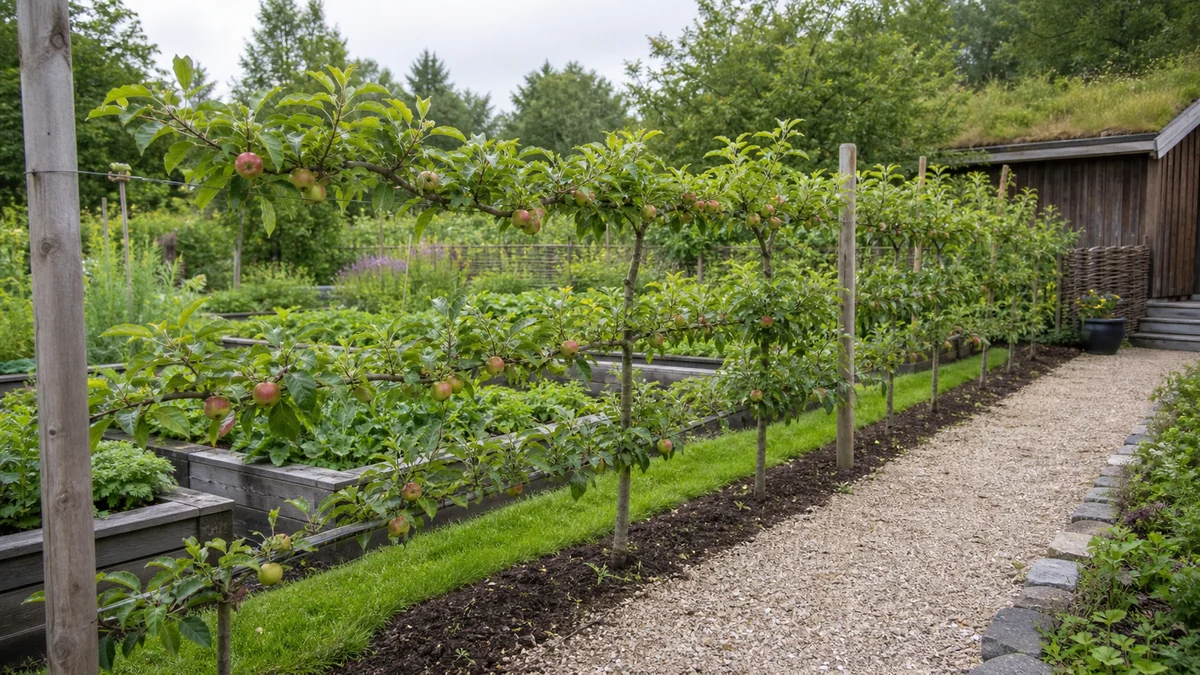
Apple tree hedge performs best when the site is settled before you start: a prepared spot with suitable light and easy access to water. Plan the start (autumn or spring while soil is workable) together with the main season (the active growing season) so watering, soil preparation, support and harvest are easier to manage.
Updated 28 May 2026
Quick facts
| Type | trained fruit hedge / apple espalier |
|---|---|
| Height | about 60-180 cm, depending on wire levels |
| Spacing | about 1.5-2.5 m, closer on dwarfing rootstocks |
| Planting | autumn or spring while soil is workable |
| Pruning | winter shaping plus summer shortening of side shoots |
| Pollination | two compatible apple varieties or nearby apple/crab apple |
| Position | full sun, open air and well-drained soil |
Character and best uses
Apple tree hedge is easiest to use well when it has a clear purpose: structure, blossom and long-term garden value. Treat a prepared spot with suitable light and easy access to water as the starting point, then check soil, water and access before choosing the final spot.
At about 60-180 cm, depending on wire levels, spacing, support and access matter from the beginning. It is easier to plan those details before the planting becomes dense.
Use this timing as the starting point: autumn or spring while soil is workable. In a garden, late cold, wind, heavy rain and dry spells often matter more than the calendar date.
- structure, blossom and long-term garden value
- a prepared spot with suitable light and easy access to water
- autumn or spring while soil is workable
Checkpoints before you choose
Before choosing Apple tree hedge, settle light, soil depth, drainage and access to water. A prepared spot with suitable light and easy access to water is the goal, but small differences in wind and soil moisture can decide the result.
For trees, think several seasons ahead: pollination, crown space and pruning access should be clear.
- Check light and wind before choosing the position.
- Review soil depth, drainage and how reliably you can water.
- Plan support, container volume or path access before growth speeds up.
- Think through harvest, cutting, overwintering or clearing before the season gets busy.
How to make an apple tree hedge step by step
Start with autumn or spring while soil is workable. Prepare the soil or container first, and wait a few extra days rather than forcing growth into cold, wet or unstable conditions.
Use a prepared spot with suitable light and easy access to water. Remove perennial weeds, loosen the soil, add mature compost where useful and water thoroughly after planting or sowing.
Label the spot and watch establishment closely. You will quickly see whether the plant needs more water, support, airflow or shelter.
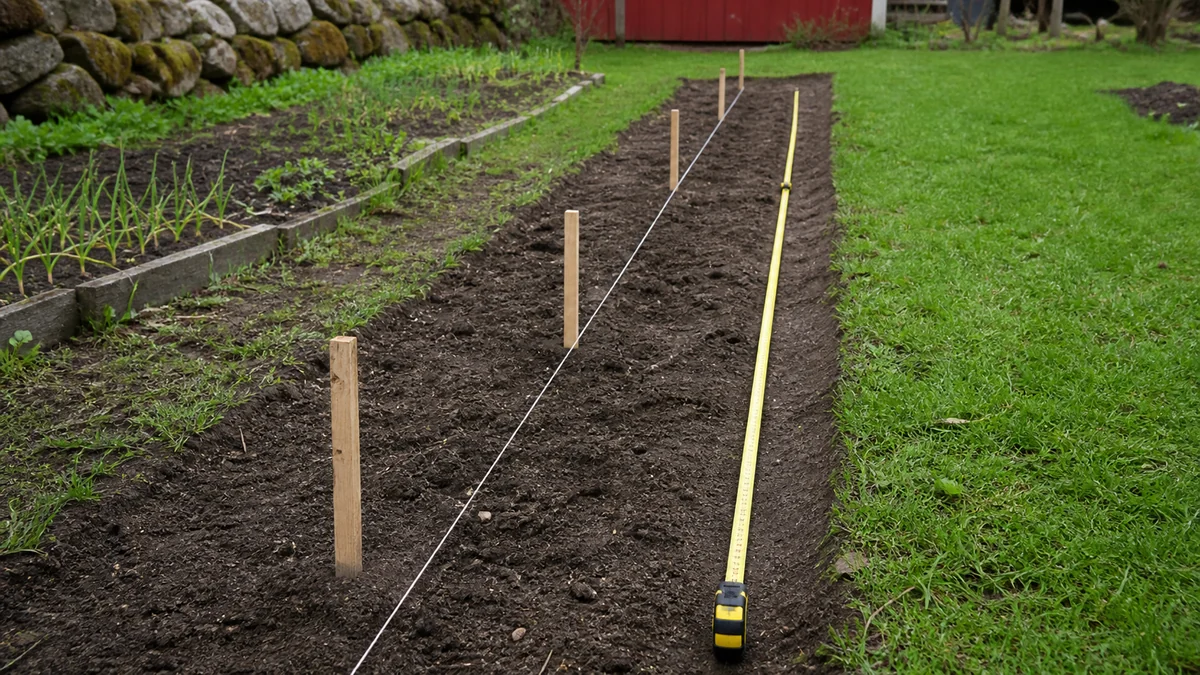
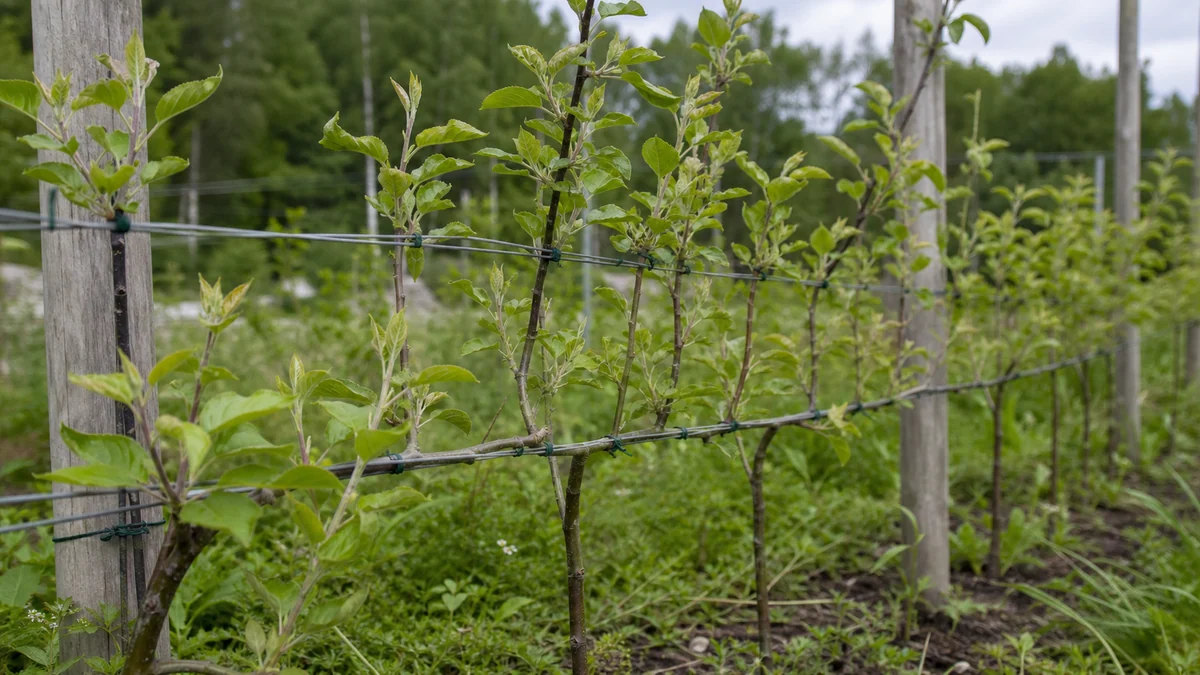
- 1. Measure the row and mark each planting point.
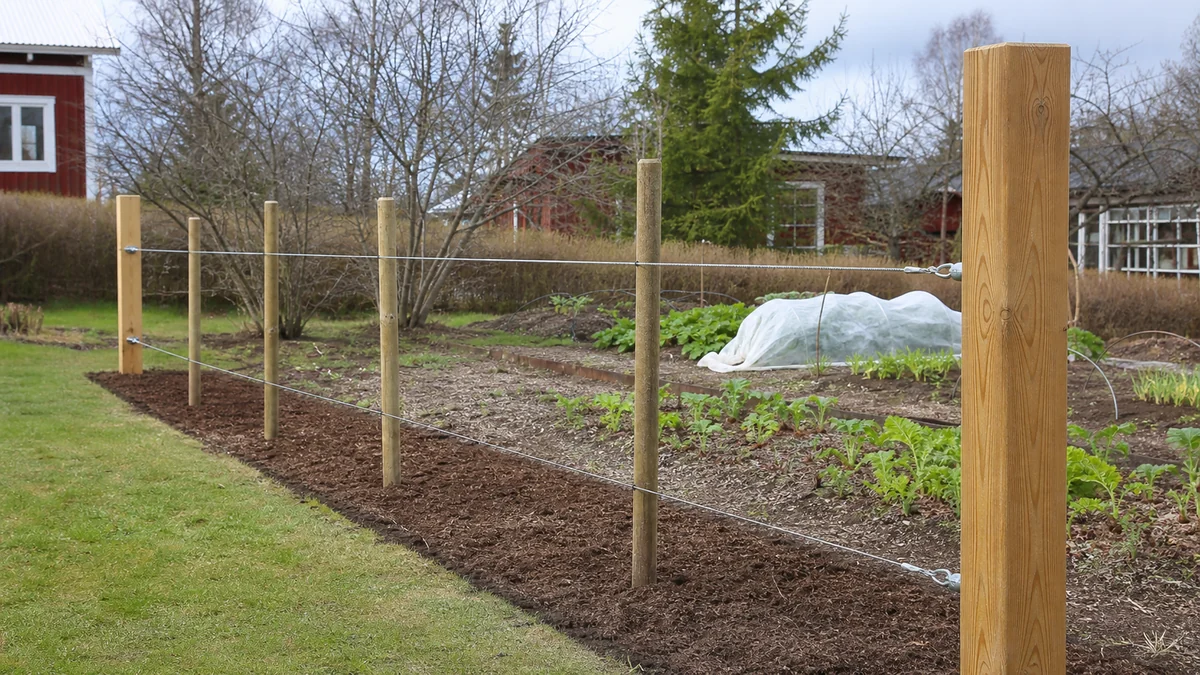
- 2. Build posts and wires before planting.
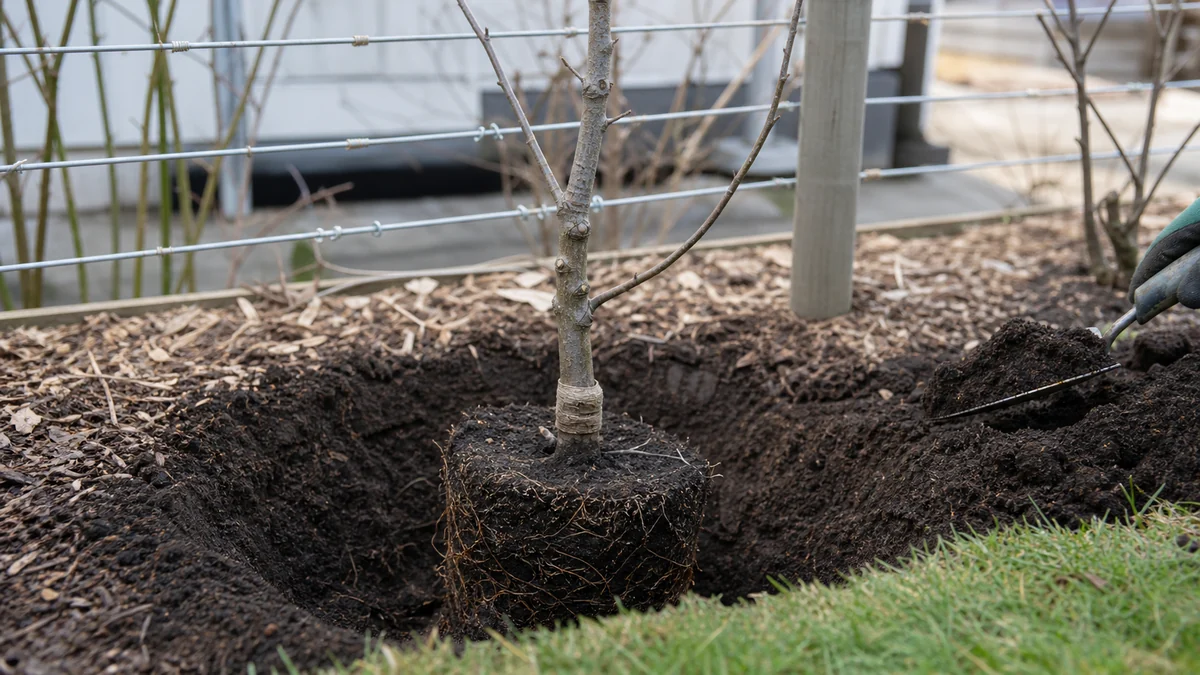
- 3. Plant with the graft union above soil level and water well.
- 4. Tie young shoots gently along the wire.
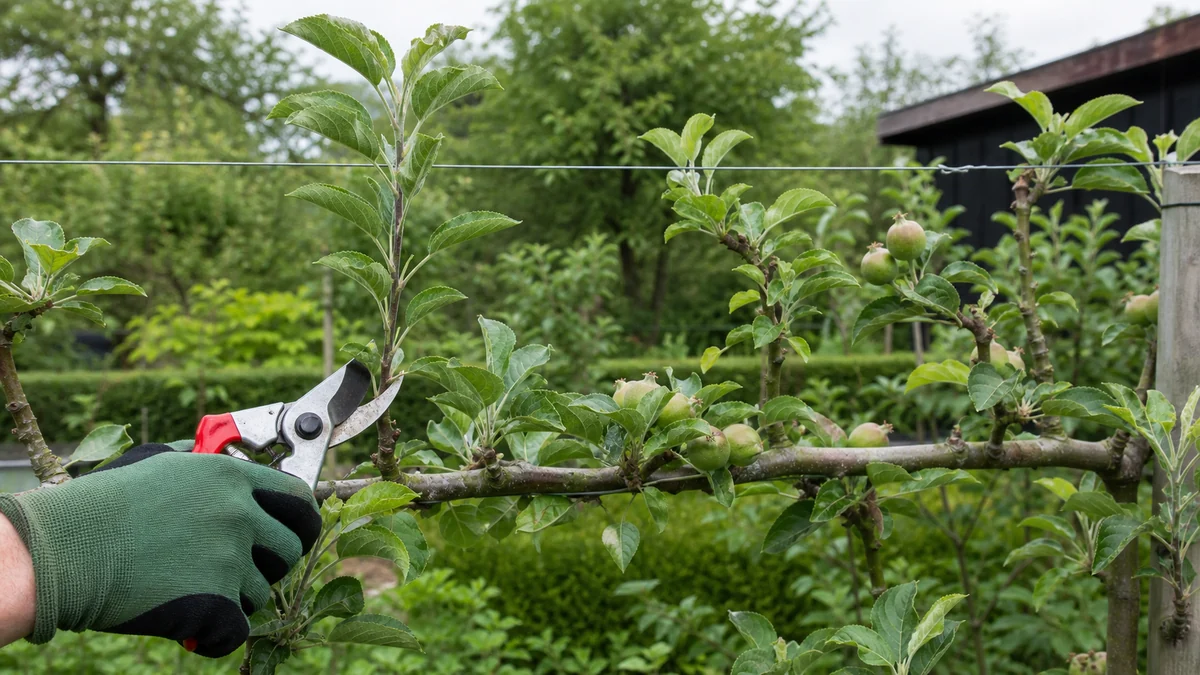
- 5. Summer-prune side shoots while keeping the main arms.
Season plan
- Spring: prepare the soil and start Apple tree hedge using the guidance autumn or spring while soil is workable.
- Early summer: water steadily while roots establish.
- Summer: watch growth, flowering or harvest closely.
- Autumn: clear, harvest or prepare overwintering according to plant type.
Varieties, rootstock and local climate
Summer care is mostly about steady follow-up. Check soil moisture, new growth and foliage after heat, wind and heavy rain.
Water deeply when needed, keep weeds away from young plants and adjust support or mulch before problems become large.
Keep short notes on what works in your garden. Those observations are often more useful next season than another general checklist.
Care and pruning after establishment
Most mistakes happen before the plant is well established. A simple check before planting prevents a lot of later work.
- starting before soil and night temperatures are suitable
- choosing too small a container or too tight a spacing
- watering unevenly during establishment
- forgetting support, thinning or harvest access
- leaving spent growth, weeds or old crops in place too long
Common mistakes to avoid
Apple tree hedge works best with neighbours that enjoy similar light, soil and water. That lets you manage care and watering together.
In small gardens, a few considered combinations usually work better than many unrelated single choices. Repeat colours, heights or leaf shapes for a calmer result.
- planting before the support is ready
- using vigorous rootstock for a low hedge
- forgetting compatible pollination
- letting ties cut into the bark
- allowing upright shoots to turn into a dense wall
FAQ about apple tree hedges
When should I start Apple tree hedge?
Use autumn or spring while soil is workable as the starting point, then adjust for weather and soil temperature where you garden.
Where should Apple tree hedge be placed?
Choose a prepared spot with suitable light and easy access to water, and make sure you can still reach the plant for watering and care through the season.
What is the most common mistake?
The most common mistake is choosing the position before checking soil, water and follow-up.
How this guide is made
This guide is written as independent cultivation content for practical garden planning. The advice is based on growing site, season, soil, watering, use and common mistakes, not on stock messages or campaigns from individual shops.